This country is supported by WorldFirst affiliates, Zyla
All other international regions
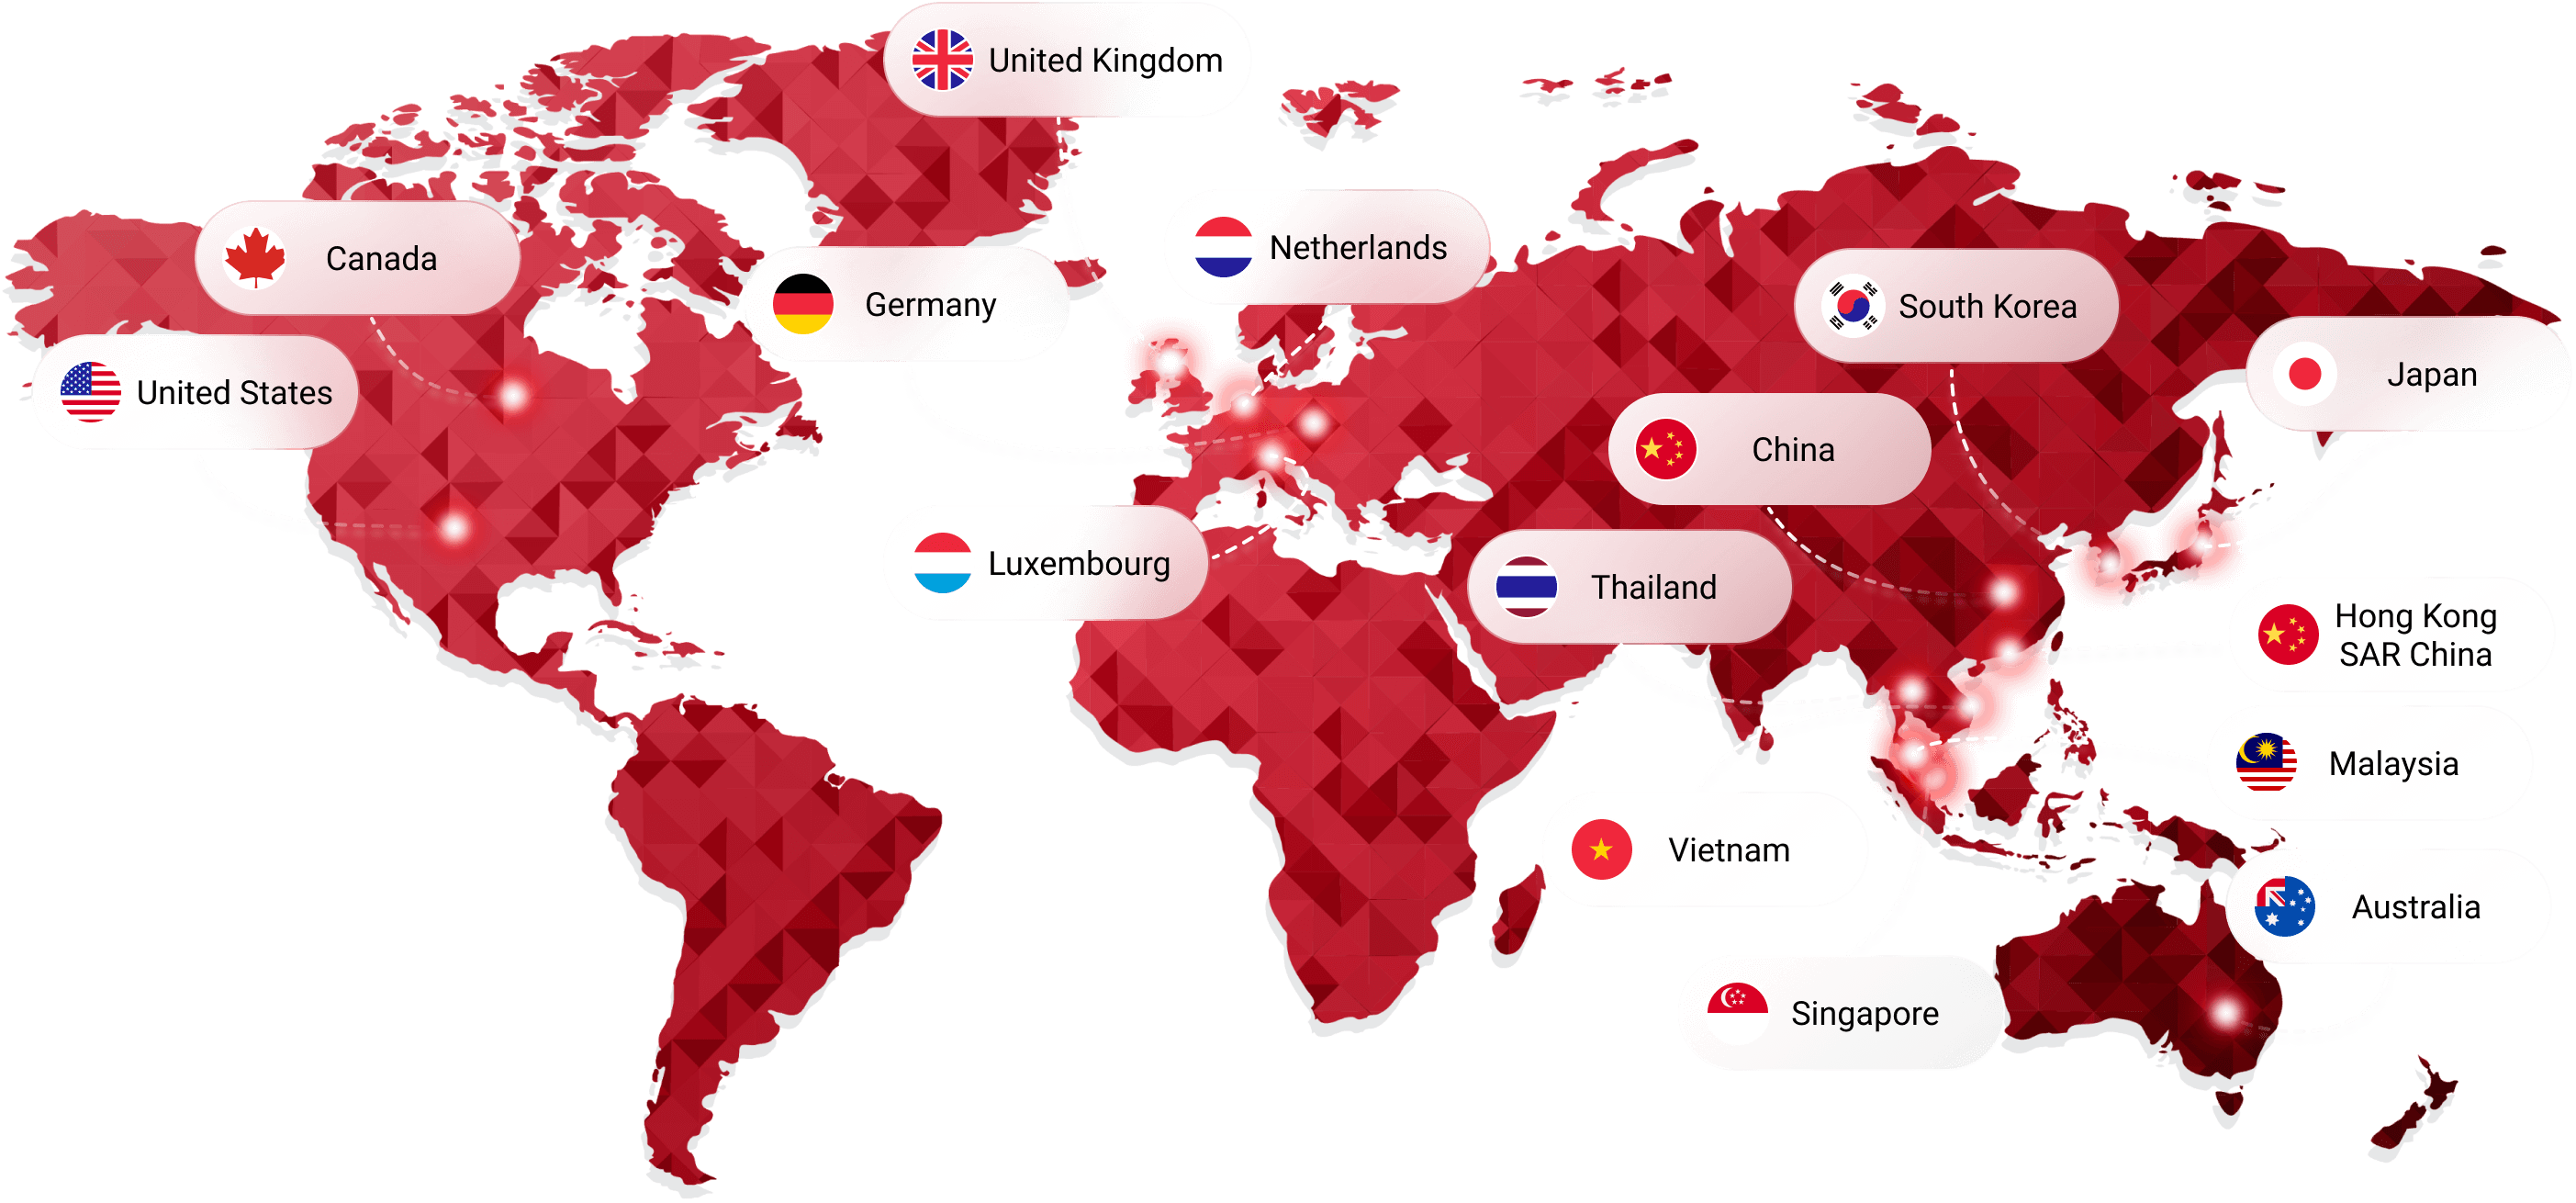
We provide coverage in Africa, Asia, Latin America: servicing 210+ countries and territories.
Menu
Global Scaling Summit 2025
The free global summit where e-commerce experts and thought leaders share strategies for scaling smarter, expanding internationally and driving revenue growth.
The free global summit where e-commerce experts and thought leaders share strategies for scaling smarter, expanding internationally and driving revenue growth.
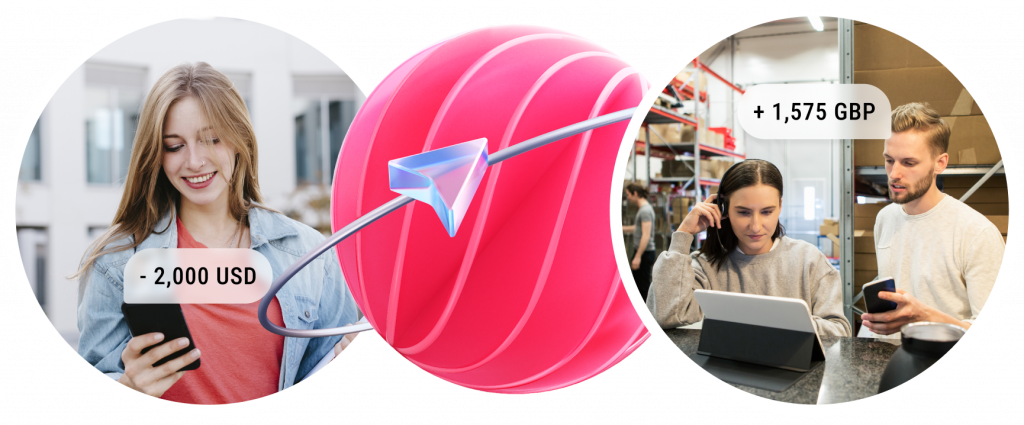
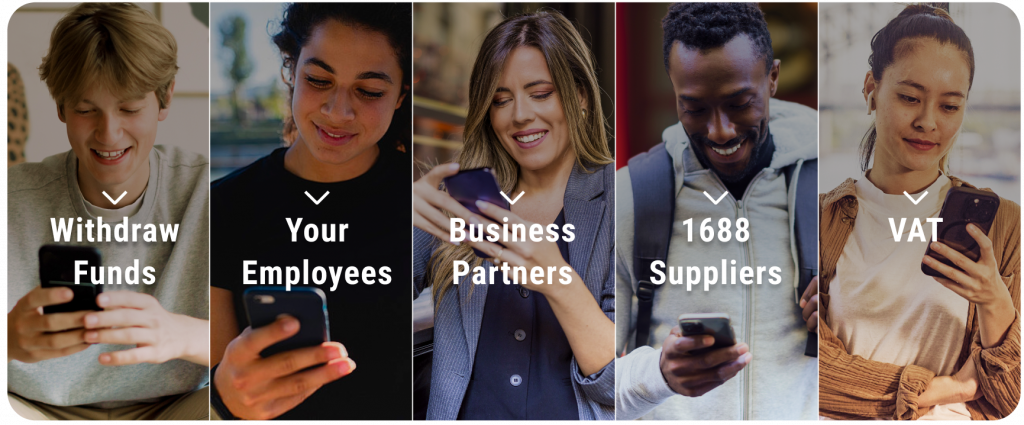
Withdraw your funds or transfer them in 40+ currencies.
Send up to 200 payments internationally and locally in a single transaction.
Lock the FX rate today for future payment.
Sourcing from China made easy
Instant payments to 1688.com
Access over 10 million suppliers from 1688.com, China’s leading wholesale marketplace for small businesses. Pay your suppliers instantly when you link 1688 and World Account.
Currency exchange, team management, accounting and more – all in one place.
Currency Exchange Risk Management
Multi-User Authorization
Ecosystem Integration
About WorldFirst
Years of History
0
Customers’ Trust
1M+
Global Footprint
0+
Transaction Value
$0B
Hear what our customers say
Hear what our customers say
Monica Milcarz
Company Director of Glamour Empire Ltd
“I was selling my products in the USA and found it very time-consuming and challenging to set up a bank account, but by comparison, setting up my current account with WorldFirst was simple and efficient.”
Raffi Schier
UK Director of Bantam Materials International
“Using WorldFirst, we feel safe knowing that our responsibility to the communities we work with is honoured as we make a significant number of advance payments to ensure our bottle collectors and suppliers are paid securely and on time.”
Peter Keen
Director of Infapower
“The forward exchange rate is received at the time I need to make my transfer, helping me minimise any potential exchange rate risks. Internal budgeting is much easier as I know exactly how much I will get ahead of time.”
We're wherever you need us to be
We have operational support teams located in 32 offices around the world to help millions of our customers in 200+ countries.
We are here to help
Opening an online account only takes minutes.
Or reach out to us and our local team is happy to speak with you.