


With the World Account, adding payees is a streamlined and flexible process, whether you need to add a single payee or handle multiple payees in batches. You can also easily manage your payees by editing or deleting their details as needed.
Add a new single payee
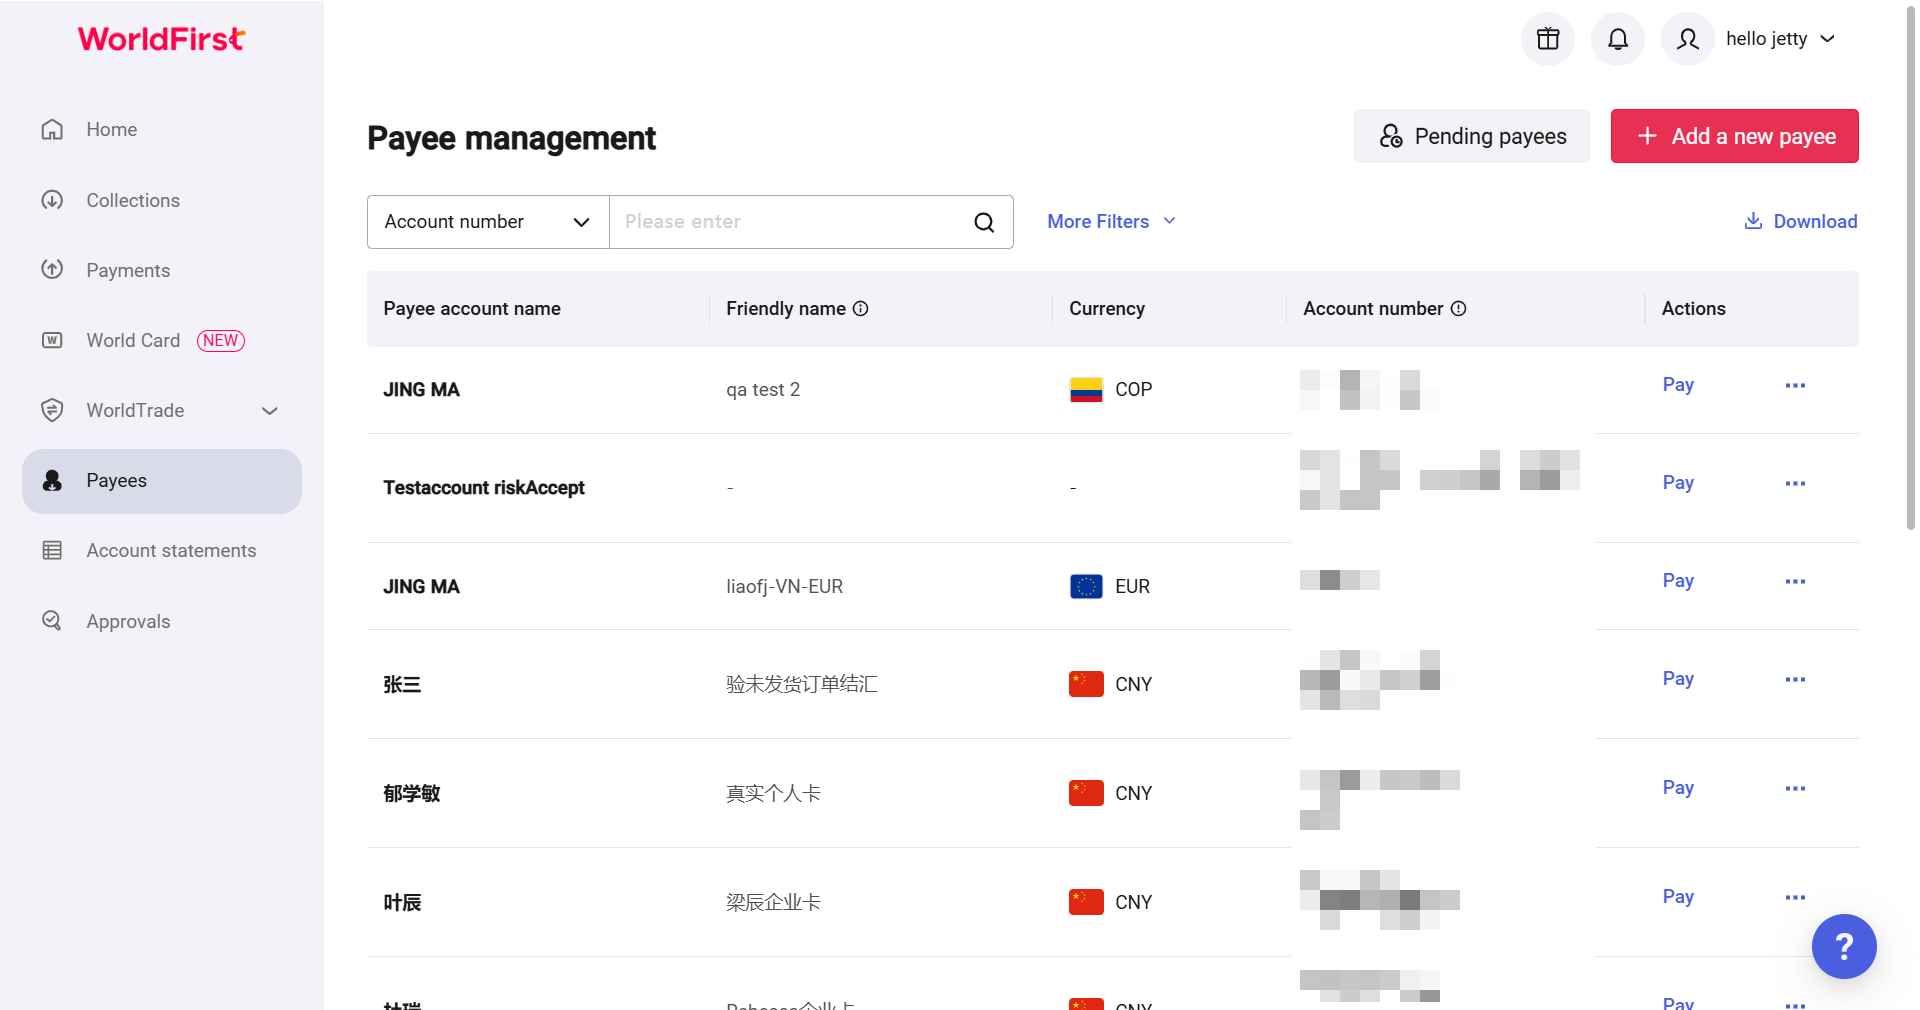
- On your WorldFirst dashboard, go to “Payees”
- Click on “Add a new payee” on the top-right corner
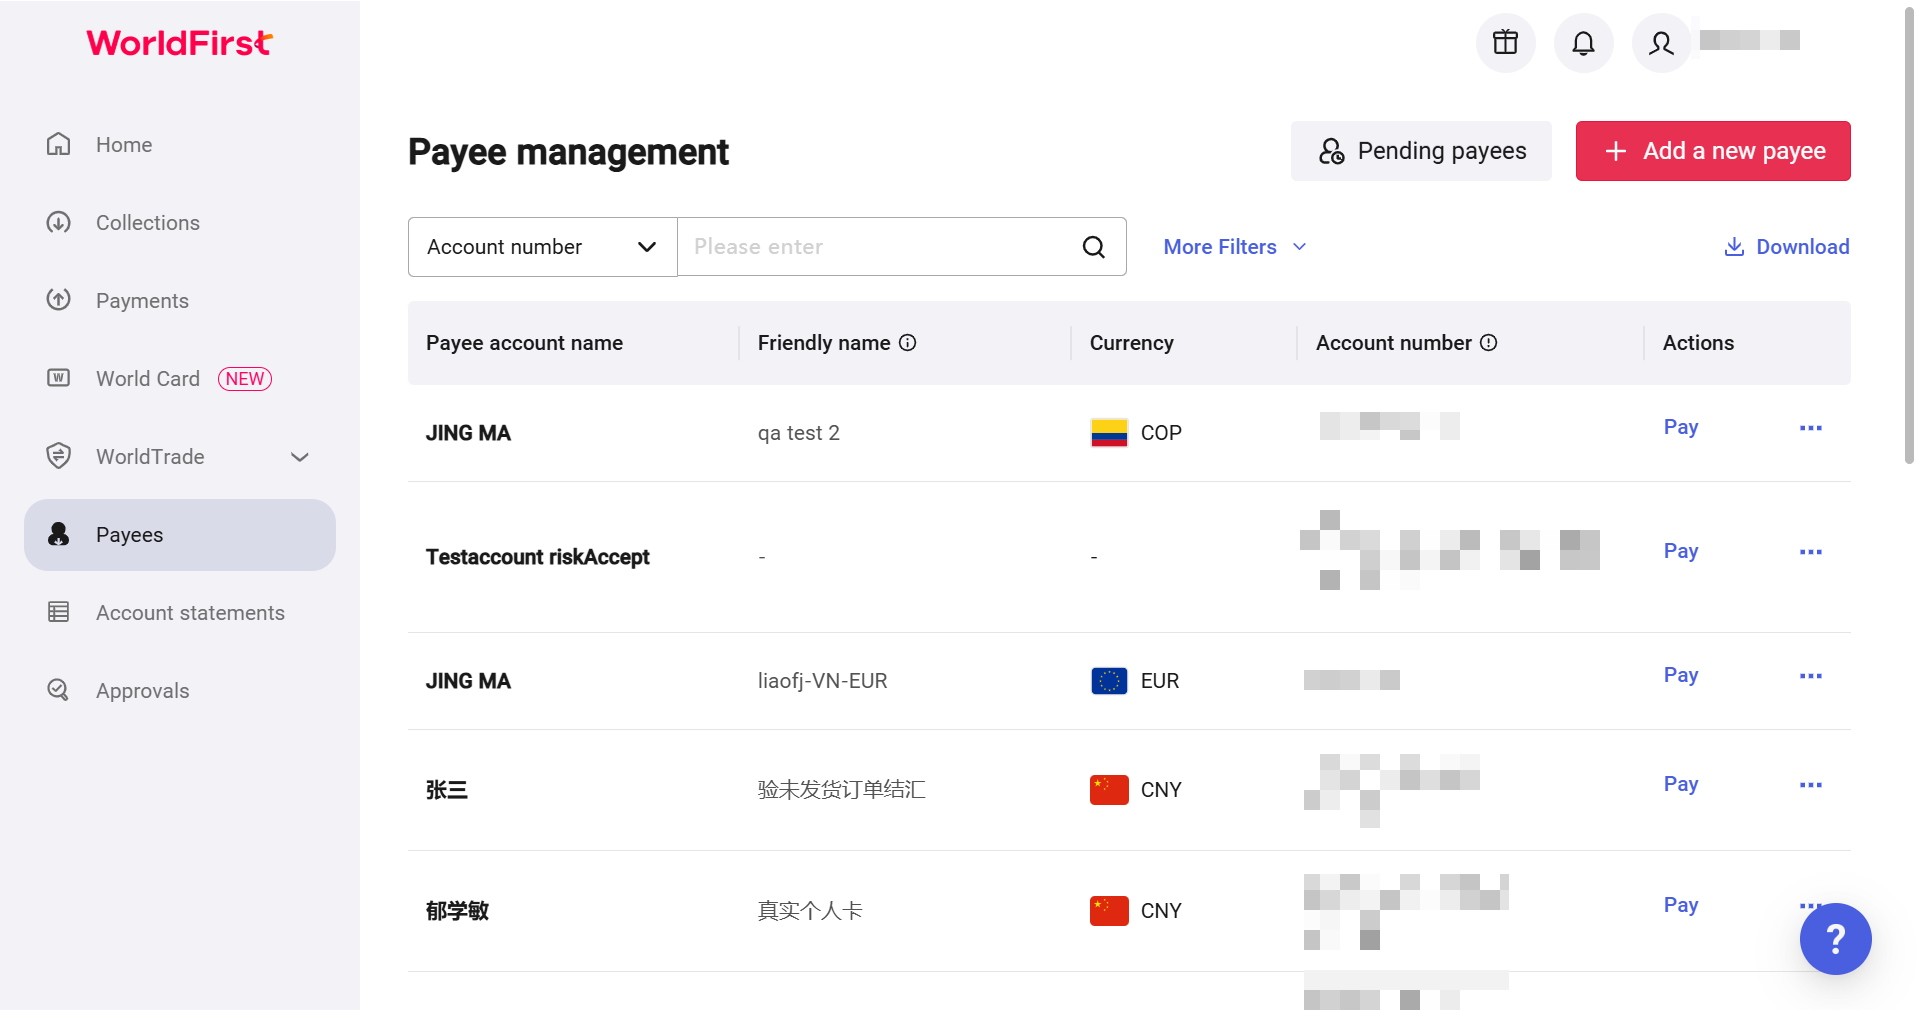
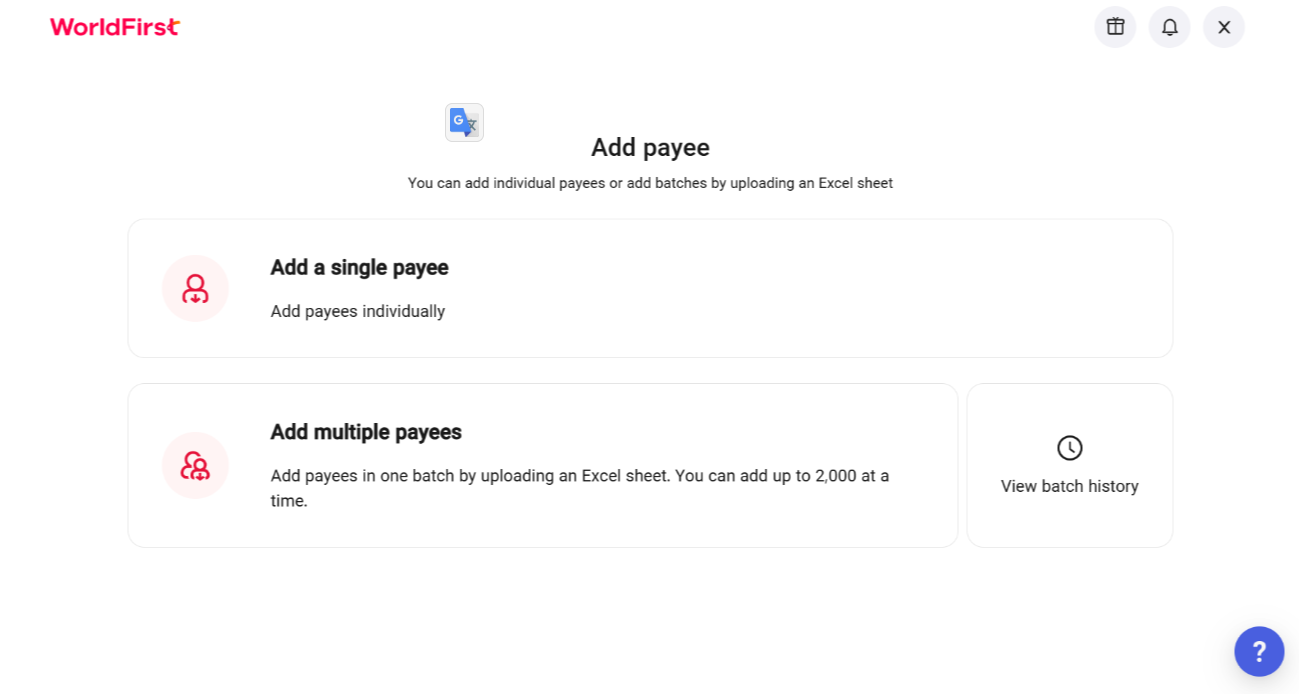
- Select “Add a single payee”

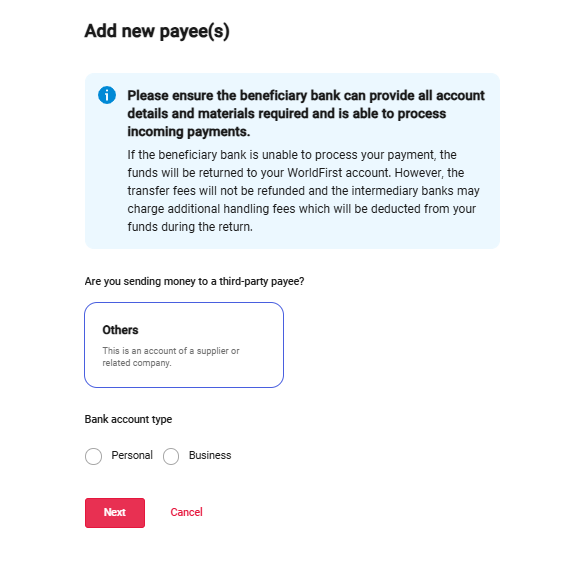
- Select “Others”, and then choose the account type accordingly

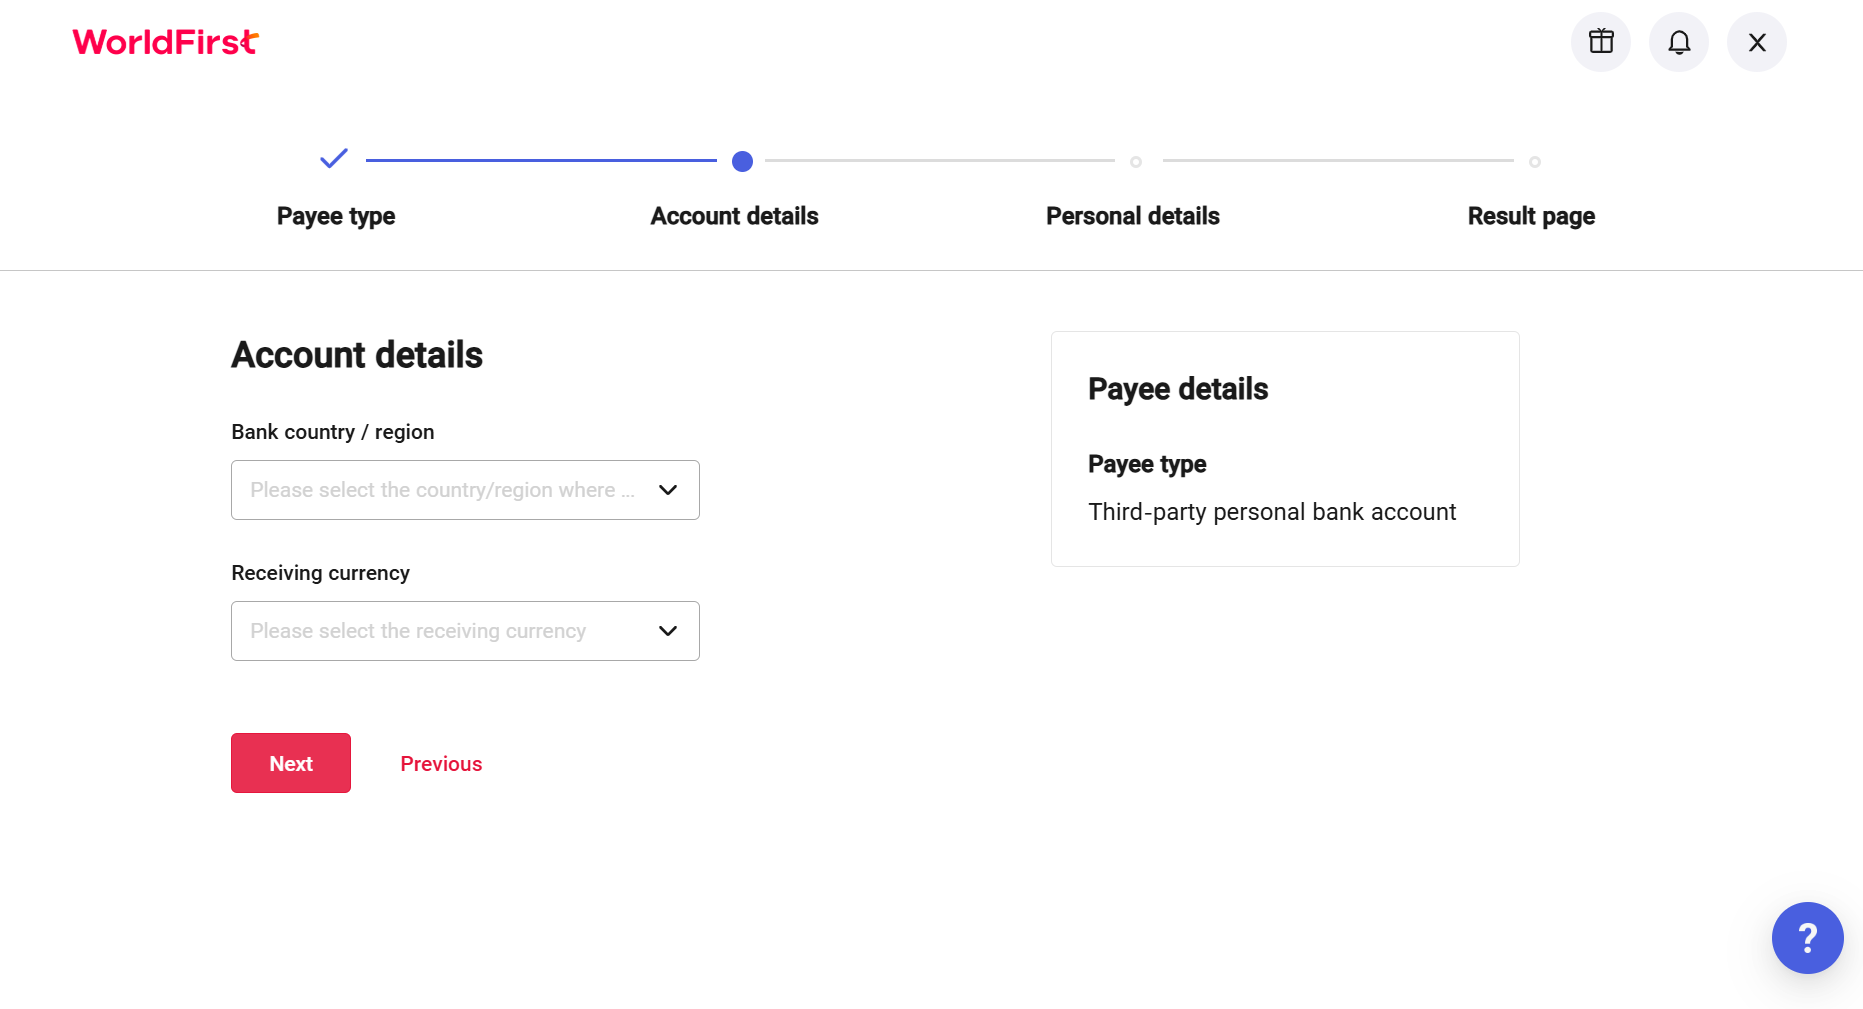
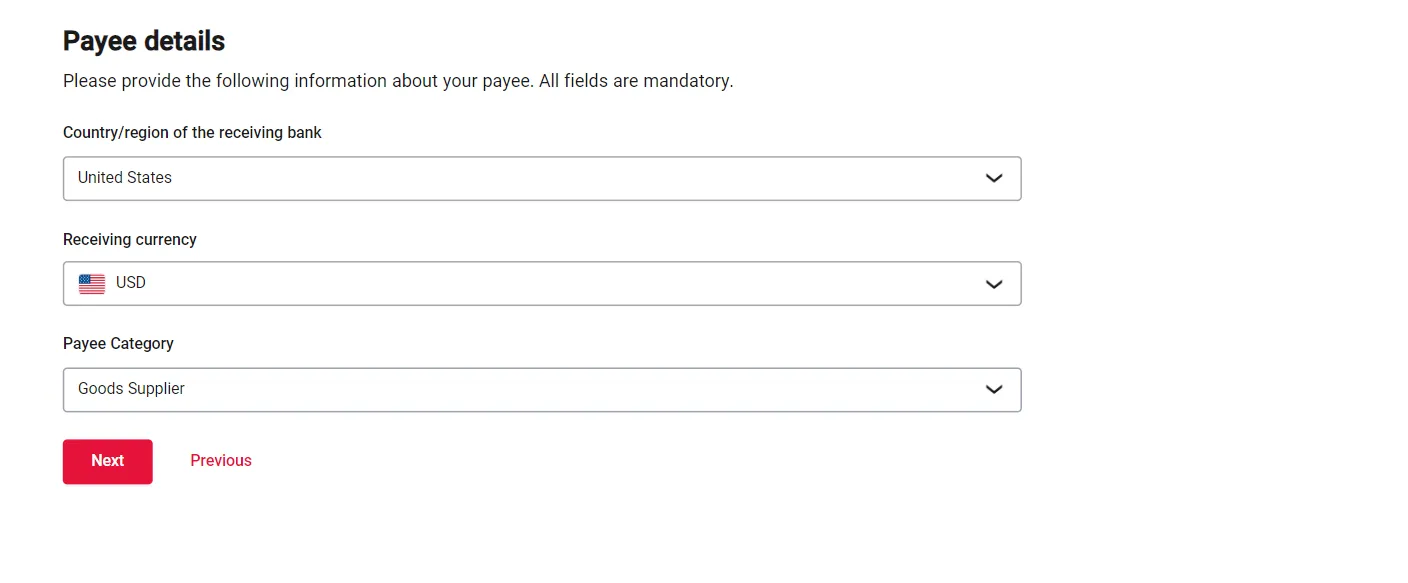
- Next, select your account country and the currency you’ll send payments in
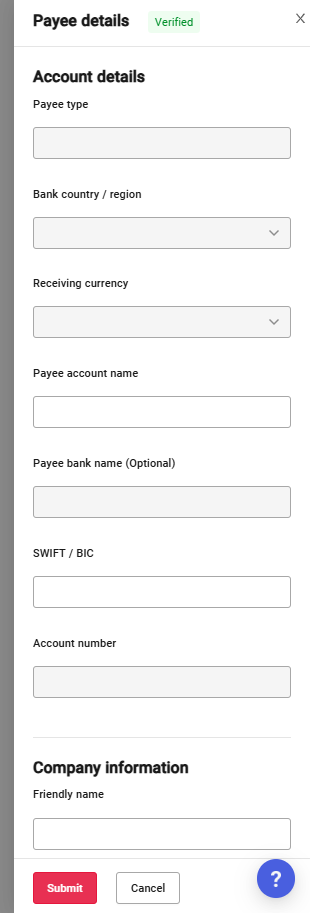
- Next, enter the account details as required
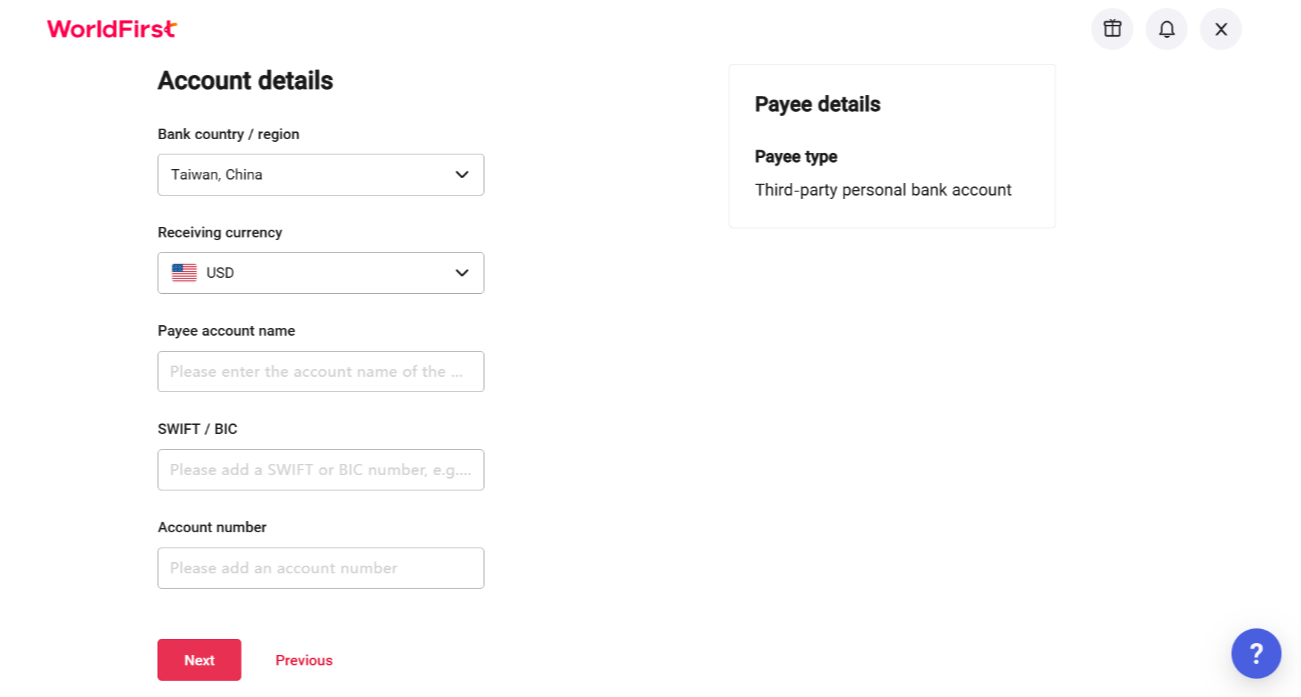
- When you enter a payee on the portal, you will be asked to enter relevant information, depending on the currency of the payment and the country of the beneficiary.
- Europe – IBAN and SWIFT
- Australia – account number and SWIFT or BSB code
- New Zealand – account number, and 6-digit bank code and SWIFT
- US – account number, and ABA routing number or SWIFT
- UK – account number and sort code or SWIFT and IBAN
- India – account number, SWIFT and IFSC number, reason for transfer
- China – account number, SWIFT
- Mexico – account number, 18 digit Clable and SWIFT
- Singapore – account number and SWIFT
- Japan – account number and SWIFT
- UAE – IBAN and SWIFT
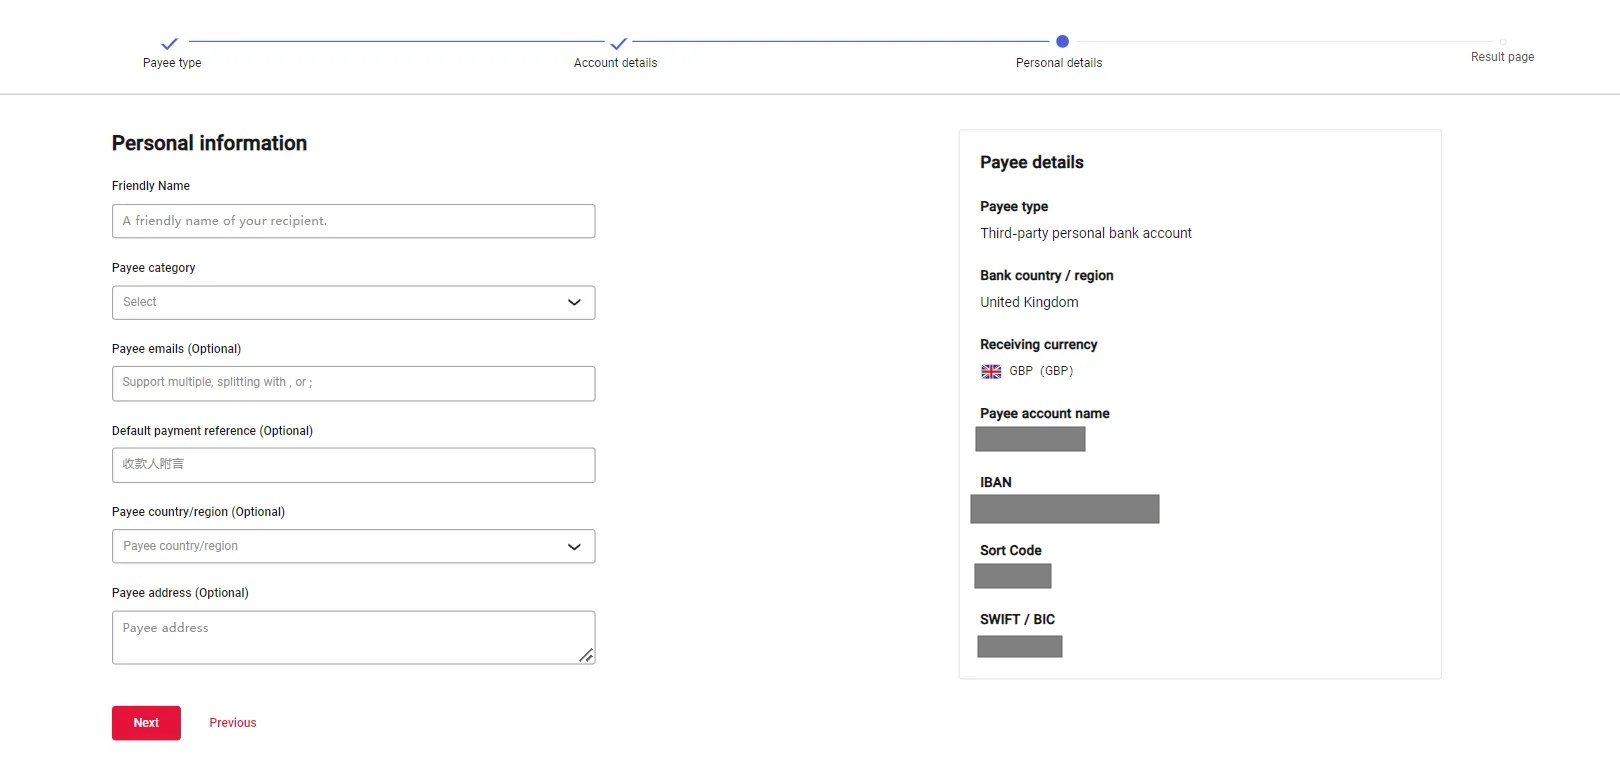
- Then, enter the personal details as required
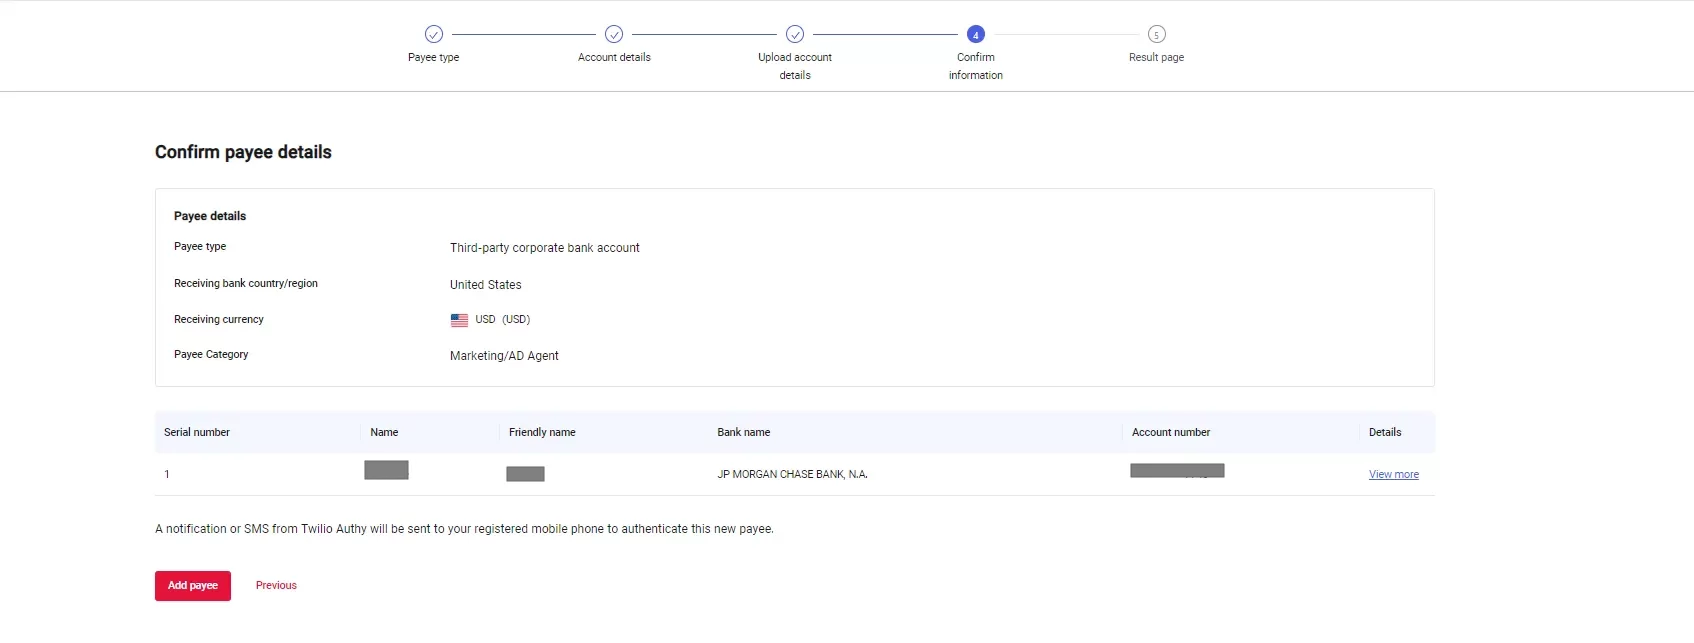
- Next, you’ll be asked to verify with SMS message, email or Authy App
After the authentication, your account will either be immediately approved, or we will request more actions from you in 24 hours. You’ll be able to see the approval status and additional actions required under “Payees” > “Actions“, where we may ask you to upload additional documents.
Add new payees in batches
- On your WorldFirst dashboard, go to “Payees”
- Click on “Add a new payee” on the top-right corner
- Select “Add payees in batches”
- Next, select the account type you are paying to. We currently only support one account type in batches
- Then, select the destination country and currency of your batch payments
Currently, we only support one currency and country each batch. If your recipients are in different countries, please add them in separate batches.
The system will then generate an Excel template for you to download. In the Excel template, we have prepared fields that need to be filled out for the transfer method and country. You can copy and paste your payee account details in batches from your company’s databases or your ERP software. Please be sure to assign each payee unique friendly names, which will be served as identification codes when you make batch transfers.
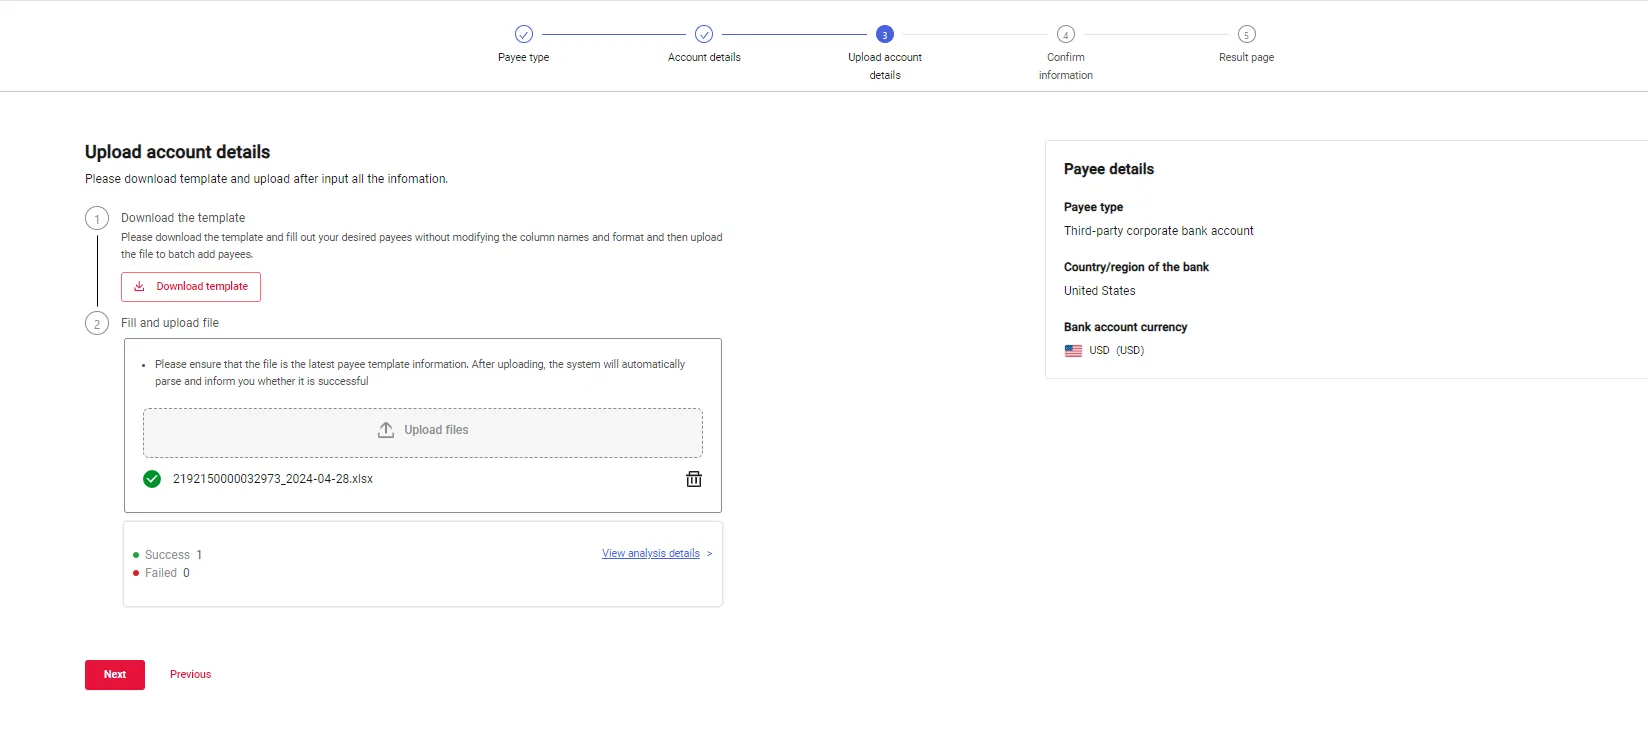

- You’ll re-upload the Excel file once you’ve filled in the account details
The system will automatically detect erroneous fields and provide instructions on how to correct them. After you’ve made the necessary changes in the Excel sheet, you can rename the file and upload again. After a verification with the Authy App or an SMS message, the system will start processing your upload.
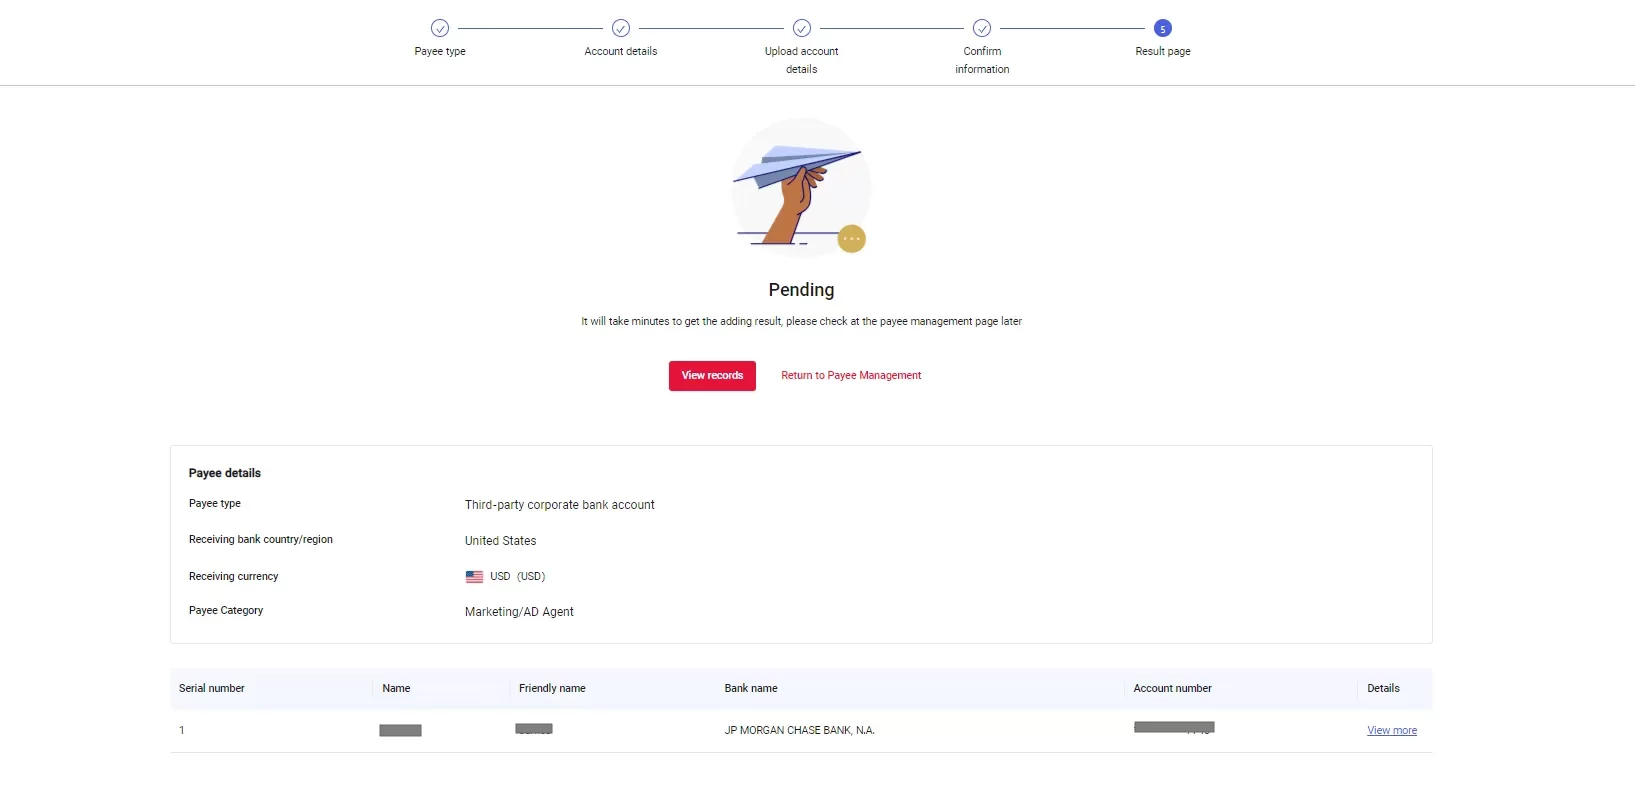
- The upload may take a few minutes. You can come back to the payee management page later to check the results
Edit payee details
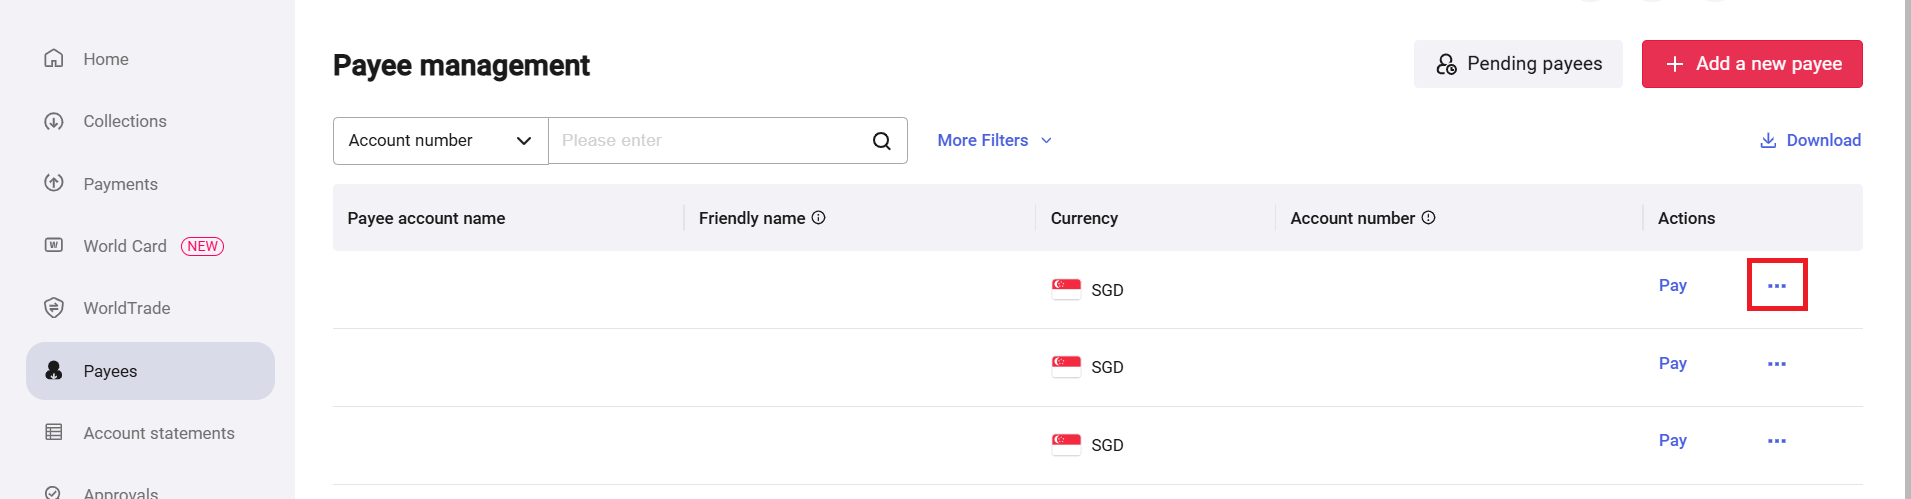
- Go to “Payees” on the navigation bar
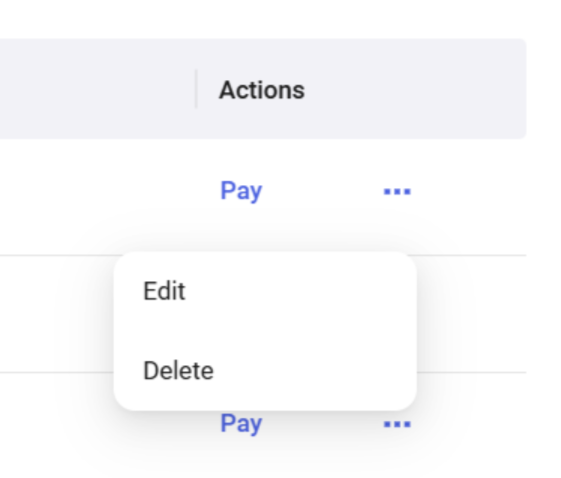
- Click on the three dots for the payee you would like to edit
- Click on “Edit”
- Amend the respective details accordingly
Please note that you will not be able to amend the fields that are greyed out. You will have to delete this payee and re-add a new payee
- Click on “Submit” once done
Delete payee
- Go to “Payees” on the navigation bar
- Click on the three dots for the payee you would like to delete
- Click on “Delete” to delete the payee