Home > How to make multiple payments by file upload
How to make multiple payments
by file upload
Step 1:
From ‘Make a payment’, choose ‘Multi payee’ and select ‘Excel file uploading’ from the drop down menu under ‘How to add a new payee’.
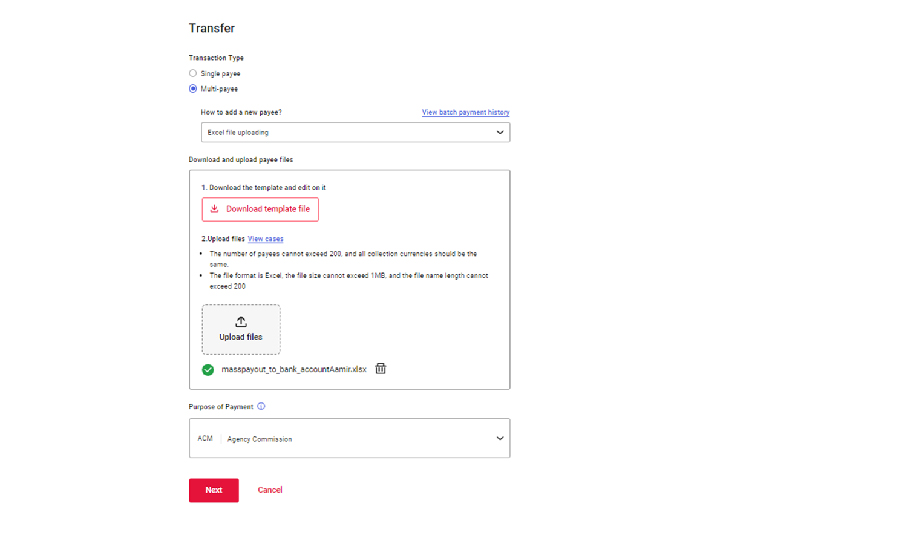
Step 2:
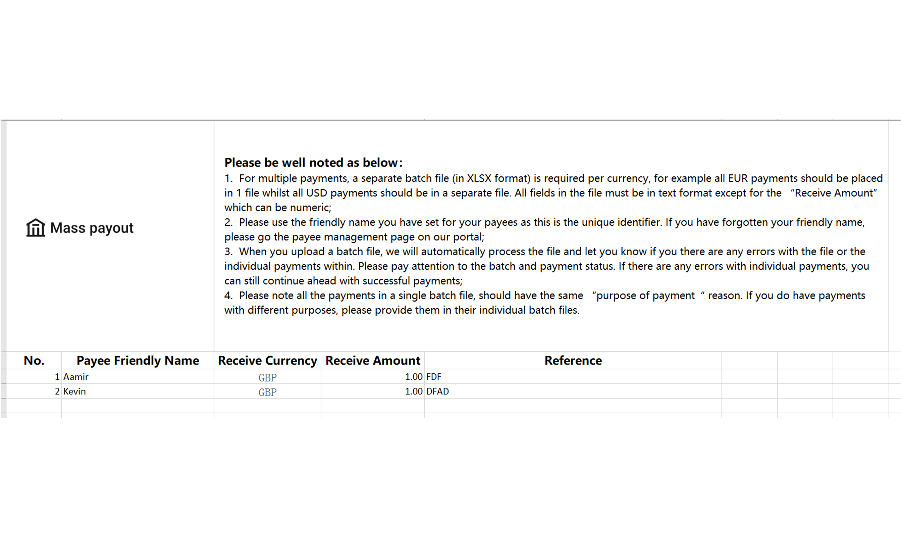
You can upload up to 200 payments by uploading an XLSX file containing the individual payments.
Please note: the file format is checked automatically when uploaded. You’ll receive a notification if the file is in the incorrect format.
Step 3:
On the next screen you’ll see how many payments have been approved and passed checks. This includes whether the payee exists and if it is ‘verified’.
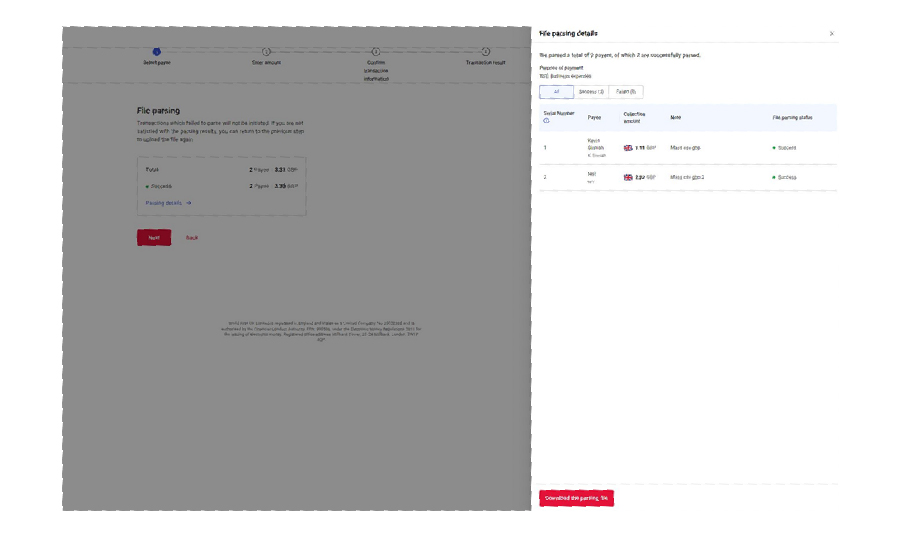
Step 4:
The total amount of payments from the file is now available. The FX rate and fee is also shown. If you’re satisfied everything is accurate, you can then press ‘Next’.

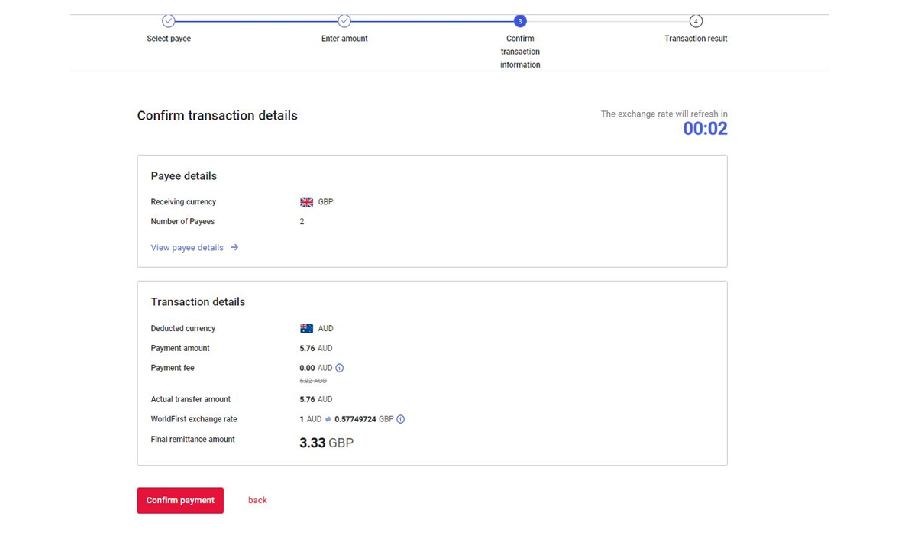
Step 5:
You’ll then receive a summary of the total sum of payment amounts.
If you confirm the payment, they are assigned a ‘Batch ID’ which can be used to track mass payments.
Please note: each payment within the batch will also have its own transaction ID.